A failproof Magento 2 migration plan

Editor’s note: If you are still wondering ‘Do I really need to upgrade to Magento 2’, we recommend reading our 5 reasons why you should migrate to Magento 2 blog. Alternatively, you can take a leaf out of the book of Land Rover, Helly Hansen, Byredo, and thousand other brands who upgraded their Ecommerce websites to Magento 2 way ahead of time.

Migrating from Magento 1 to Magento 2 is tricky, as it involves a lot of manual tasks. No doubt the data migration tools do make the task easier!

But what about the prerequisites? Or existing traffic?

You can’t afford the bummers because of a lack of proper planning.

Here’s an ideal migration process for Magento 2 for a successful, hassle-free, and safe migration.

Cut down all the complexities before making the move

Video of a man thinking with math figures floating around his head

Here’s why?

You might start with setting a plan that includes deadlines, efforts required, and then end up with hair-pulling frustration by making unnecessary changes.

Mark down: The amount of time and effort depends on the number of customizations, complexity, and the number of extensions running on the existing store.

Here are the initial practices that should be taken into account before migrating to Magento 2:

  • Prepare full backup

Make sure you have a complete backup of your Magento 1 store and the required database, files, and folders.

  • Check compatibility

Check if your current extensions, custom code, and themes are compatible with Magento 2.

  • Analyze the data
  • Review what needs to be kept or removed from the new Magento 2 website.
  • Staging environment

Do not migrate when your website is live. Transfer the data from the copied database of the Magento 1 store.

  • SEO analysis

To avoid losing traffic, perform SEO analysis to retain best-performing URLs, keywords, and fix other possible issues.

You are ready for migration after you review and account for your existing site’s extensions, customizations, website design, and the data stored within your Magento 1 installation.

5 necessary steps for successful Magento 2 migration

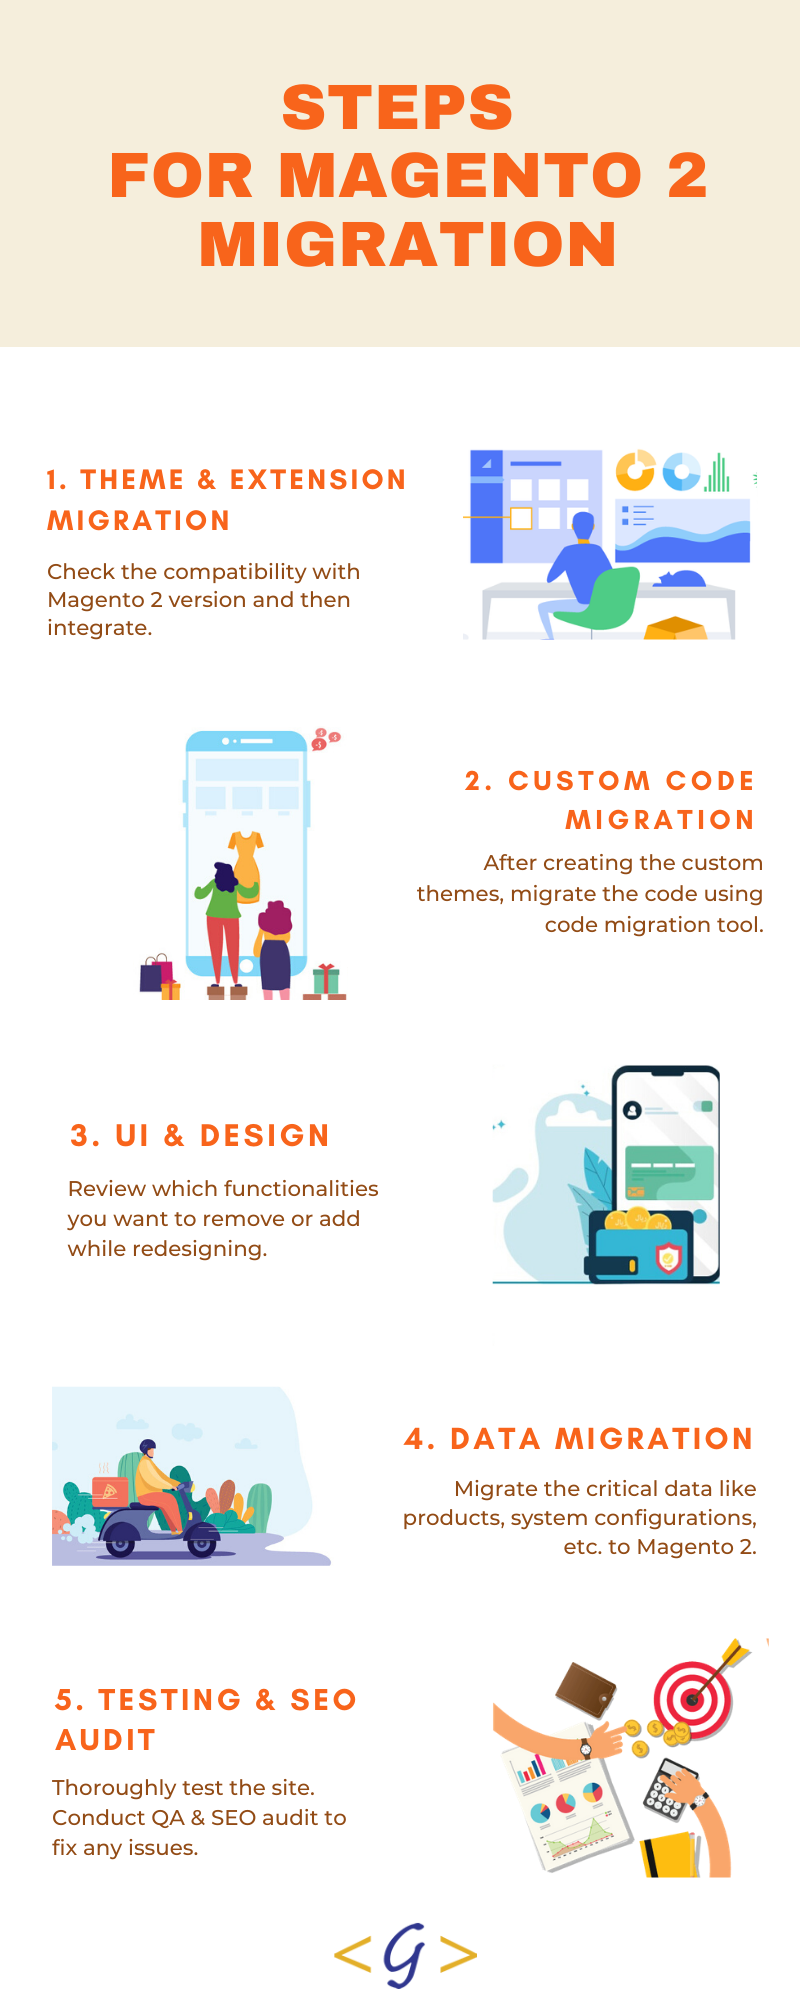
1. Theme and extension migration

First, you need to check whether the themes and extensions are compatible with the Magento 2 version or not. If it’s compatible, then you can install the same theme and extensions in Magento 2. This will automatically make the migration process a lot easier for you. If not, then you need to head towards the next step…

2. Custom code migration

Magento 2 follows new approaches and architecture for developing themes and extensions.

Existing extensions, themes, and customizations are unlikely to work with a Magento 2 installation. Therefore, you will need to build them if they aren’t available as out-of-the-box functionality.

If you have installed a third-party theme for the Magento 1 site, then you have to check with the vendor whether the current theme will support Magento 2. You would need to create a custom theme and migrate this custom code using Magento toolkits.
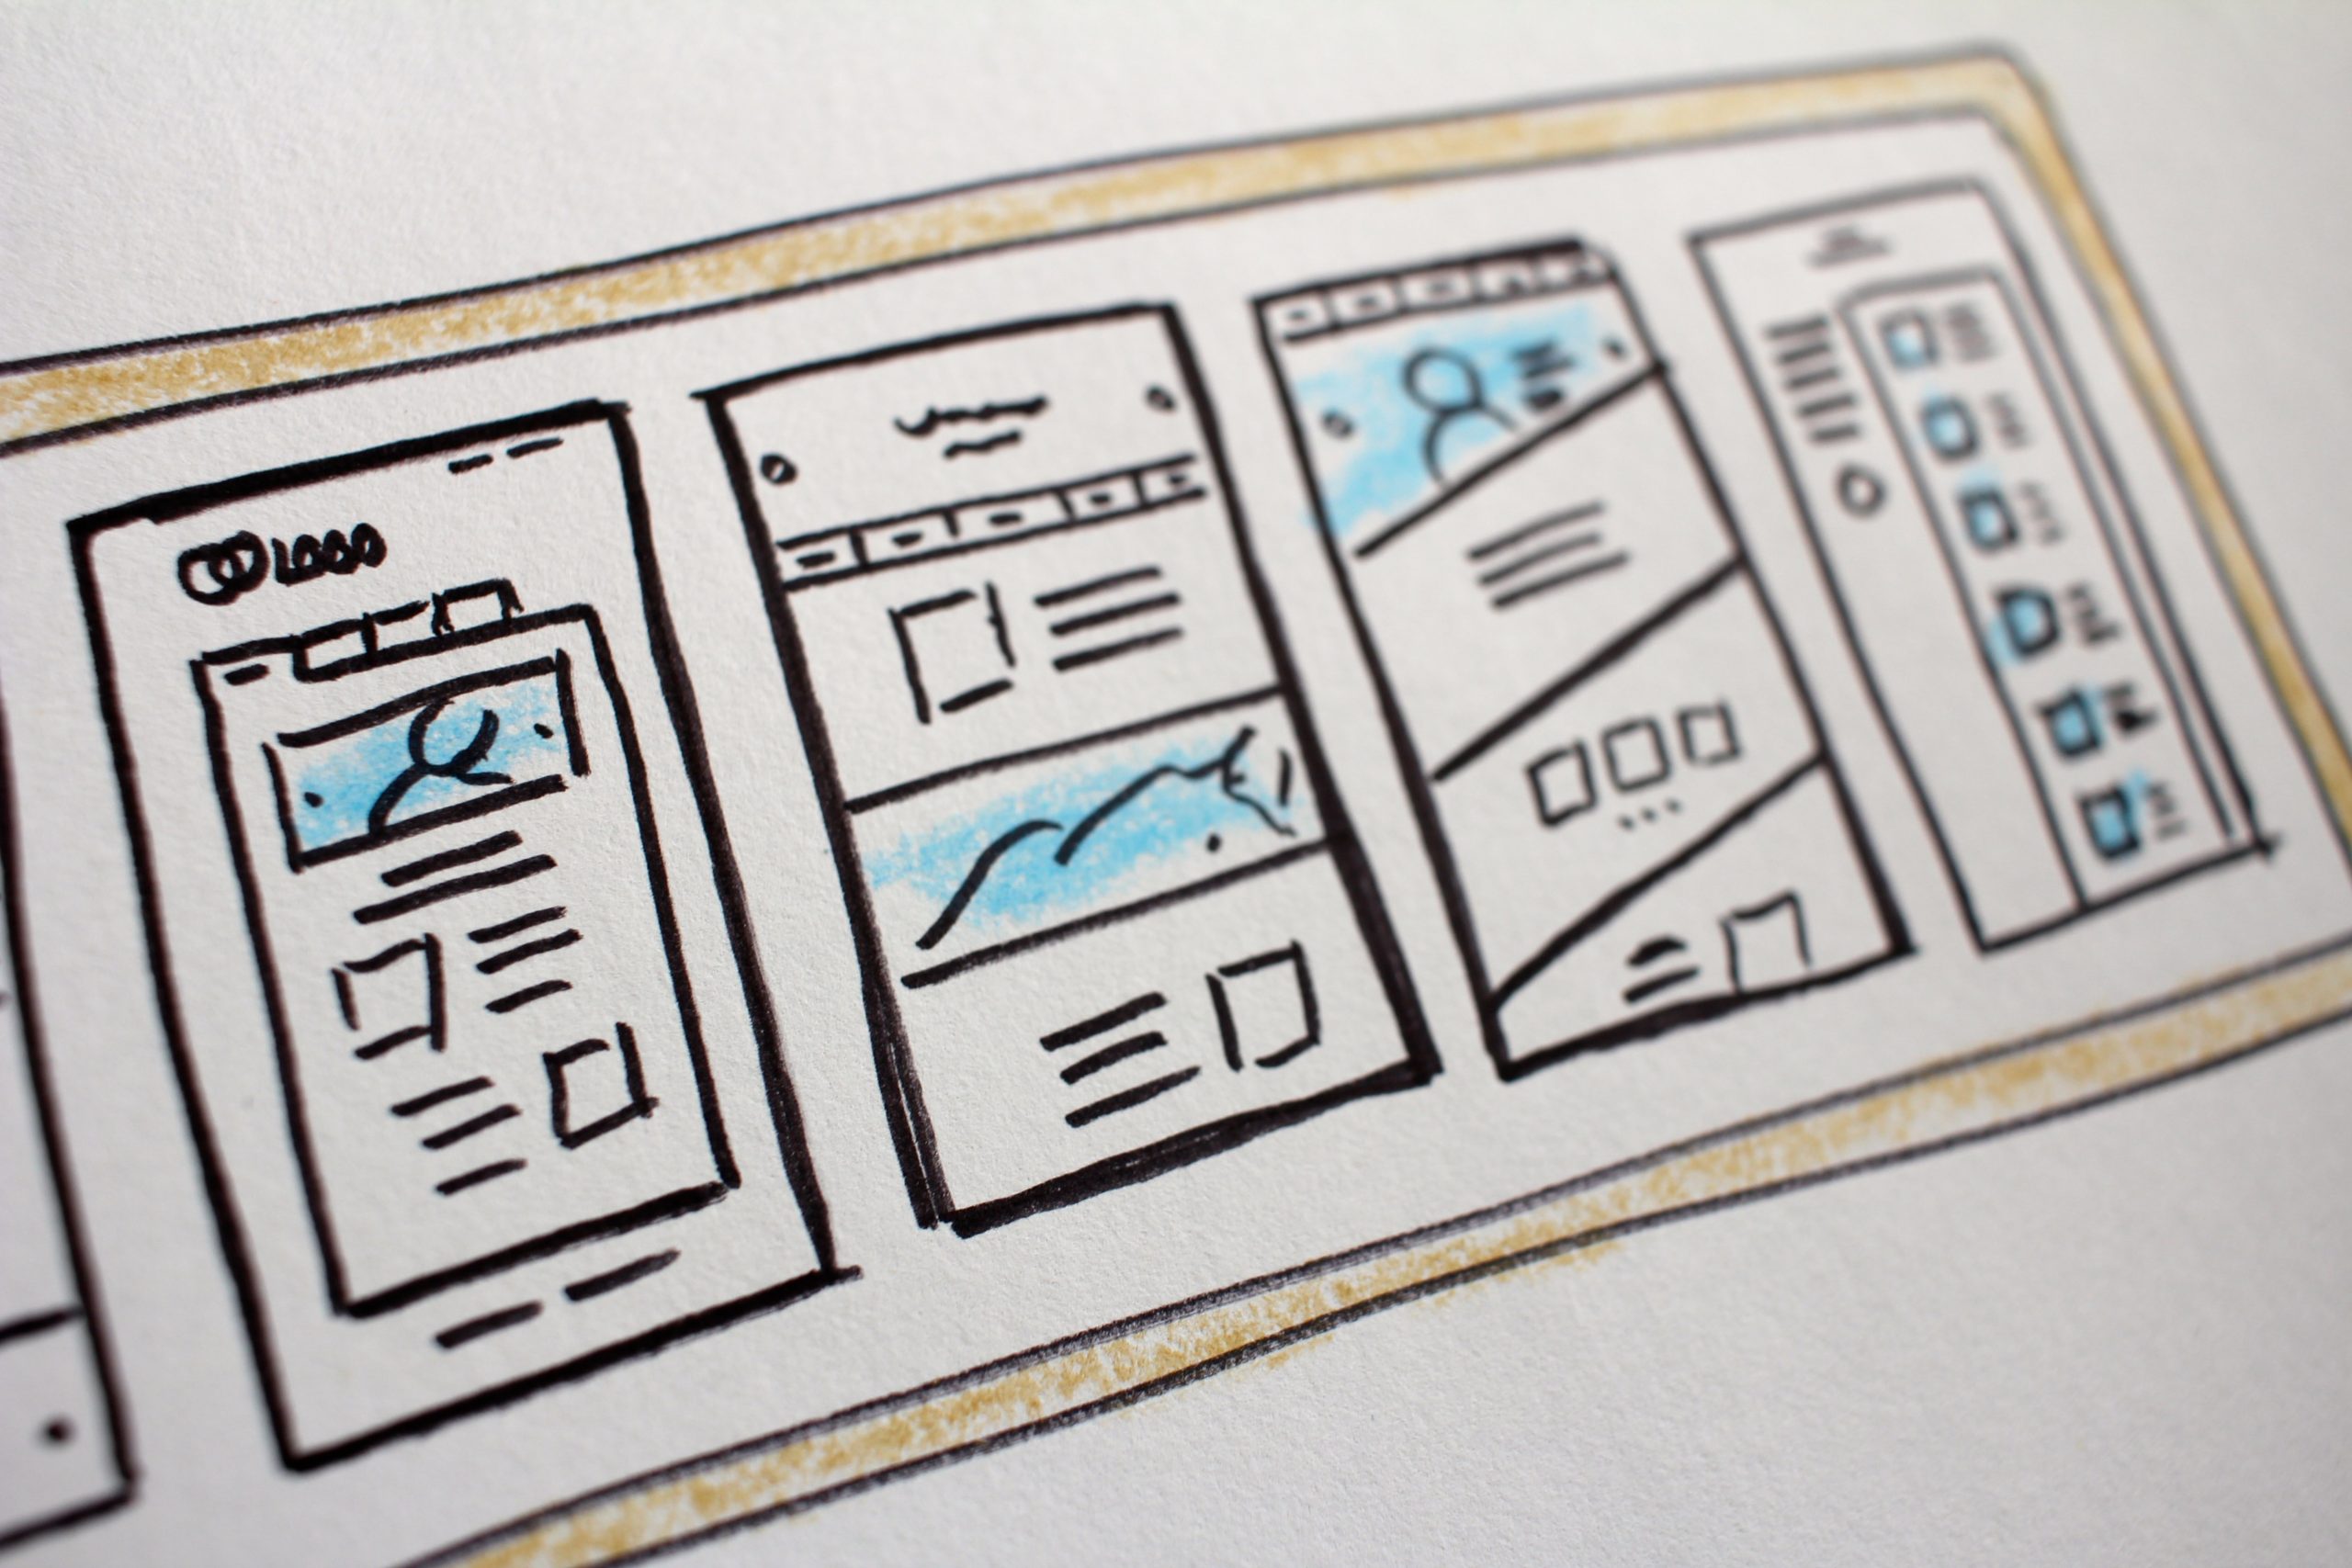
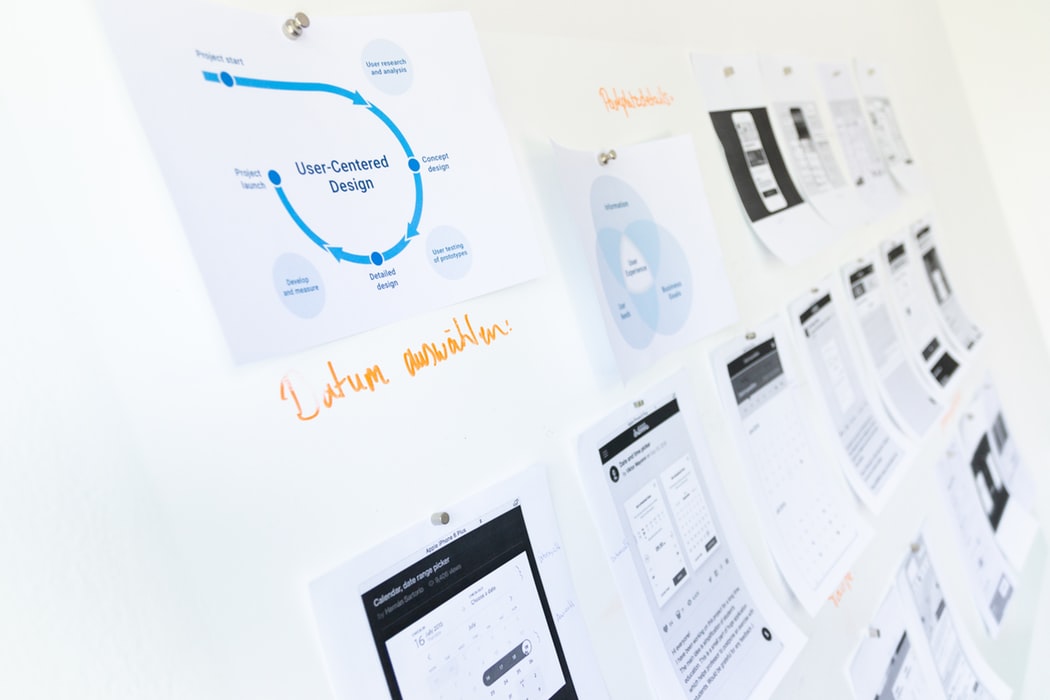
3. UI and Design

During the redesign stage, you should consider which features and functionalities should be carried over, removed, or added to your new website.

Just like extensions, Magento 1 UI can be incompatible with Magento 2. It’s because the Magento 2 uses modern architecture and has different back-end and front-end requirements. This may make it impossible to convert Magento 1 theme and design code.

You’ll need a front-end developer to create a custom theme and templates from scratch if you want to create something unique and memorable to your retail business.

4. Data Migration

Next, start your engines!

The migration process starts with setting up a development environment by moving Magento 2 on a new server. Make sure to install a fresh copy of Magento 2 on the same hosting server where your Magento 1 store is located.

It is recommended to migrate data from a replicated Magento 1 database instance. You may be required to suspend all the activity on your Magento 1 admin panel, and stop Magento 1 cron jobs, except for the order management functions.

With the help of Magento data migration tools or back-end developers, you can migrate critical settings and data such as:

  • Settings: Websites, stores, system configurations like tax settings, payment, shipping, etc.
  • Data: Products, orders, wish lists, customers, categories, ratings, etc.

Magento offers a tool to assist in Data Migration. It can help you in importing product and customer data to the new 2.0 version.

Advantages of using Magento’s Data Migration Tool:

  • Migrating configuration settings
  • Migrating main data in the database
  • Transferring incremental data updates to the storefront and admin panel

Alternatively, you can outsource this project to an expert Magento development company.

5. Testing and SEO Audit

You’ll need to vigorously test the Magento 2 site to make sure there aren’t any issues before going live.

The internal testing involves whether the website and any new functionality have been completed as per the specification or not.

Run through a predefined list of user stories to ensure that there are no issues with the site’s usability and functionality. Once the website has passed all the quality assurance guidelines, you can go ahead with the SEO audit phase.

Complete an SEO audit to ensure that all content has been migrated over to the new site. Remove any thin or duplicate content, and ensure that all of your pages are optimized with relevant meta content, heading tags, alt text, and structured data.

Make sure that 301 redirects have been set up to direct users to your new pages.

And you are all set to go live!

It’s about User Experience!

Migration is the perfect opportunity to refresh your website and rethink about – “How can I offer the best customer experience?”

It’s not just a migration phase for your Ecommerce website. It is also the best time to review whether you need more advanced functionality in your Magento store.

If you want to create a high performing Magento 2 website or put together some initial mobile-first designs in it, reach out to our team of Magento developers here.

About the Author

Vinod Khajja is an Ecommerce expert at Galaxy. He is a firm believer of AI and it’s possibilities with Ecommerce. As a Senior Project Manager he has multiple ecommerce successes under his belt

How we make remote design sprints work?

In an ideal scenario we would all be working alongside our teams in our lovely workspaces built for maximum productivity and collaboration. But since that is not the case and will remain unchanged for a while, the only option is to adapt. Considering the circumstances our design team like every other team has gone completely remote and to be honest, it’s not easy.

But processes help. Here is our process laden with some good practices that helps us retain our productivity in a remote environment.

There are numerous questions associated with the who, what, and how of collaboration. Like, who all should be included, how to manage the time zone differences, which tools and exercises to be conducted, and lastly, is it even possible?

We will address the simplest query first – Yes it is possible! Read on to know how you can manage the other aspects that we mentioned.

Tools that make our lives easier

screengrab of trello and asana

We have Trello and Asana for project management. These tools come in real handy when you have a team working on multiple projects. You can make separate channels to keep different projects and related conversations unaffected from other projects. And for communication, Slack saves the day for us. It also lets us separate our sincere work conversations from our casual chats via channels. For video collaboration we use Google meet and Zoom.

Choosing the right suite of tools reduces half of your work/collaboration effort. They might vary for you so do your research and choose wisely.

Meticulous planning and preparations

video call screengrab

We start with a brainstorming session which sets the precedence for the sprint, wireframing and designing process. This chalks out a roadmap for reaching the solution. To make things easier for all the stakeholders involved, our project managers prepare a design brief that answers some basic questions at the outset. It includes:

  • Selecting the right participants
  • Informing everyone about the aim of the meeting and what roles will they play
  • The meeting’s specifics, including the time and date. Making a calendar event for this works out well for us.
  • Stationary and technical requirements, post-its, colored sharpies, quiet background, good internet connection that will allow all-day video conferencing, software to be used, as well as incorporating suggestions from the participants.

Once the brief is sent out, we do follow up calls with the participants. This will ensure that everyone onboard is on the same page to avoid any delays once the meeting starts.

Starting the design sprint

Interface sketches

This elaborate planning is put to test here. We carry out two exercises

1. How might we?

This exercise helps us answer the fundamental questions of the application.

For example, your team is creating an app that helps to keep track of a user’s pet’s meals, vet appointments, exercise timings, etc. You can start by thinking about how you might attract the right set of audience, encourage them to use the app as well as address the different problems of pet owners.

All these “how might we” questions will help you come up with an outline of your product or service. Each team member can come up with a few specific questions that will show possible directions for designing and prototyping the project.

2. Crazy Eights

Crazy Eights has helped us come up with some of our most creative ideas. Everyone on the team needs to come up with 8 different ideas. This gives us a lot to choose from and mix-up the ideas to come up with the best designs.

Creating a prototype and testing it with users

Person holding a phone in front of a laptop

In this stage, we work on combining the ideas to reflect well into an interactive prototype. We build wireframes using Axure and Invision helps us add interaction to our presentation. This is then followed by high fidelity prototypes using Sketch or Figma.

Once the prototypes are built, we bring in unbiased users to put out ideas to test. We leverage UserTesting.com to conduct the testing process with our users.

Conducting remote testing

Person taking notes in front of a laptop

  • You should be able to see how is your user interacting with your prototype
  • You can communicate with them continuously for smooth interaction
  • Remote testing should not affect the overall process and thus give the most accurate results.

We test run our setups for avoiding any hiccups once the users are onboard. This saves our time and ensures a smooth testing routine. A Google sheet is created by our team, which pools together all the answers in one place for the questions asked.

This sheet has answers related to the overall app idea, problem areas, and specifics related to the app design. All these answers are shared with the interviewer who evaluates the answers with what she/he observed during the testing. If possible, we do live recording of the users when they are interacting with our prototype, with their permission. This live recording helps us eliminate any biases that could be done subconsciously from the user or the interviewer’s end.

Final takeaways

After successfully running remote design sprints for the past few months, we have come up with a list of prerequisites for running this process smoothly.

  • Live video conferencing is a must at all stages accompanied by a good webcam and microphone. A reliable internet connection helps avoid any lags or connection drops.
  • Setting up meetings considering all the time zones differences. We use World Time Buddy to schedule our meetings. In case you are spread all across the globe, you can keep rotating the meetings to make it easier for everyone involved. You can also record your meetings for the participants who were unable to attend.
  • A quiet work environment during this sprint. This helps in minimizing any background sounds and distractions, thus keeping everyone focused on the tasks at hand. With all of us working from home, this can be a bit difficult, but you should encourage your team to keep this in mind.
  • Have one on one conversations before and after the sprint to see how efficient this process was for everyone involved. Any troubles faced by your teammates will surface on these calls. This feedback loop is aimed at improving this process.
  • Your tool selection should take into consideration all the stakeholders involved, and how comfortable they are with the tools.

To Conclude

Planning and executing remote design sprints is a daunting task. We have been collaborating remotely before this pandemic confined all of us into our home. Over time, we have improved our process with constant evaluation and tool selections.

We would love to collaborate with you virtually and integrate our learning within your projects as well. You can get in touch with us here.

UX Writing: The Art of Designing Conversations

A staggering 88% of online consumers are less likely to return to a site after a bad experience, and often, it’s the words that make or break this experience. Bill Gates once remarked, “Content is king,” and in the world of UX, this rings truer than ever. UX Writing isn’t just about filling in the blanks; it’s about creating a narrative that guides, engages, and resonates with the user. This article explores the multifaceted role of UX Writing in shaping digital experiences, offering insights that blend strategy with creativity.

The Essence of UX Writing

UX writing is a vital aspect of user experience, guiding interactions between humans and digital platforms. It involves crafting conversations, from button labels to error messages, and its effectiveness relies on clarity, conciseness, and contextual relevance. UX writing is the unsung hero of user experience, leading users through a digital landscape without their awareness.

Conversation Design and User Interface Copywriting

At the heart of UX Writing lies Conversation Design, a discipline that shapes the dialog between user and interface. It’s about anticipating user needs and responses, ensuring that every interaction feels intuitive and human-centric. Similarly, User Interface Copywriting focuses on the language used in these interactions, blending clarity with personality to create a seamless experience.

Content Strategy for UX

A robust Content Strategy for UX underpins effective UX Writing. This strategy involves understanding the audience, their journey, and the desired outcomes of their interaction with the interface. It’s about creating content that not only informs but also engages and delights users, thereby enhancing the overall user experience.

Implementing UX Best Practices

A key aspect of UX Writing is aligning with best practices. This includes clear and concise language, maintaining a consistent voice and tone, and ensuring accessibility. For example, Dropbox’s use of friendly, approachable language in its interface helps demystify cloud storage, making it more accessible to non-tech savvy users.

Applying Actionable Insights

Actionable insights are at the core of effective UX Writing. This means not only understanding the user’s journey but also anticipating their needs and responses. Jst like when Spotify users search for a song that’s not available, the app doesn’t just display an error message; it suggests similar tracks. This proactive approach turns a potential frustration into an opportunity for discovery.

Microcopy in UX

Microcopy, a small text snippet, can clarify functions, address user concerns, and inject personality into the interface. It’s a blend of utility and creativity, providing essential information in a tone that resonates with the user. Airbnb’s search functionality uses a conversational touch to personalize the experience and set a relaxed tone, exemplifying UX Writing at its finest.

Digital Communication Design

Digital Communication Design in UX Writing involves the arrangement and presentation of text, incorporating factors like typography, color, spacing, and hierarchy to enhance readability and user comprehension. 

Good ways also involves presentation, as the layout on a screen significantly impacts information processing. Google’s simple search page is an example of this, designed for ease of navigation for all demographics.

User Experience Best Practices

Adhering to User Experience Best Practices involves creating content that is accessible, inclusive, and empathetic. It’s about understanding the diverse needs of users and ensuring that the interface is usable and understandable by all.

Voice and Tone in UX

The voice and tone used in UX Writing should align with the brand’s personality and the context of the user interaction. This consistency in voice fosters trust and reliability, while the appropriate tone can enhance user engagement and satisfaction.

Accessibility in UX Writing

Accessibility is crucial for ensuring content is perceivable, operable, understandable, and robust for all users, including those with disabilities. This approach not only meets legal requirements but also expands the reach and inclusivity of digital products. Microsoft’s inclusive design principles demonstrate this, catering to a wide range of abilities and reaching a broader audience.

Human-Computer Interaction (HCI)

Understanding HCI principles is crucial in UX Writing. It involves recognizing how users interact with computers and designing text that facilitates these interactions in the most efficient and satisfying manner.

Real-World Digging

A study by NN/g found that clear microcopy can boost task completion rates by 22%, while user-friendly language in error messages reduces frustration and increases satisfaction. Effective UX Writing can boost a website’s conversion rate by 17%.

Conclusion: Crafting Digital Excellence with Galaxy Weblinks

UX Writing is an art that requires a deep understanding of user psychology, a flair for language, and a commitment to creating intuitive and engaging digital experiences. It is important in crafting digital experiences that are not only functional but also emotionally resonant. It’s about creating a conversation that feels personal, informative, and inclusive.

At Galaxy Weblinks, we understand the power of words in the digital space. Our approach to UX Writing goes beyond mere aesthetics; we focus on creating content that drives engagement and fulfills user needs, ultimately contributing to a seamless user journey. Our expertise in UX design, digital marketing, and web development is not just about building platforms; it’s about crafting experiences that resonate, reflect, and respond. Let Galaxy Weblinks guide you through the nuanced landscape of UX Writing, where every word is a deliberate step towards enriching user experiences.

5 reasons why you should migrate to Magento 2?

It’s high time for users to finally migrate, you cannot defer Magento 2 upgrade until the last minute. As it’s not a one-click-upgrade, Magento 1 users need to understand why this migration is crucial for their business.

Magento 2 is offering much more intuitive functionalities and benefits in comparison to Magento 1. But before the advantages, let’s understand where we’re coming from when we say ‘migrate now’.

Why sticking with Magento 1.x is not a good idea?

After June 2020 there will be no official support for Magento merchants or developers. This means there’ll be no more technical assistance, no more security patches, and ultimately, no more Magento 1.x as a viable platform.

Any technical issues with your website, as mentioned below, could have a huge impact on your revenue and brand image.

  • Security vulnerabilities

After the cut-off date, any sites that missed out on a migration would be vulnerable to security breaches and hacks. E-commerce sites that are still on unsupported versions of Magento will be exposed to hackers equipped with backdoor exploits.

This means you will be putting your customers’ data at risk. And without protection of their payment details and security updates, your checkout may no longer be secure.

  • Quality fixes

Magento will no longer be rolling out quality fixes for Magento Open Source (Community) or certain versions of Magento Commerce (Enterprise). Users with Magento 1.x will not get any further improvements to existing core features, and will find it difficult to make their site more user-friendly with broken features.

And with no more feature upgrades to Magento 1 means low customer retention, as it will be difficult for you to keep up with the services offered by your competitors.

  • 3rd party extension

Magento’s security patches and quality fixes only cover the core platform and not any extensions, bespoke modifications or enhancements.

In this case, you’ll need maintenance support to improve extensions and prevent them from getting defunct as they won’t be compatible with any new patches released to the core platform.

Magento 2 has several advantages over its predecessor

You must think about migration if you are looking towards a smooth customer shopping experience with your existing ecommerce website. Here are our 5 reasons to migrate to Magento 2:

1. Improved Performance

Magento 2 performance

Load speeds on the first version were slow. The possibilities of working with dynamic databases like PostgreSQL and MySQL has allowed better processing of caching, re-indexing and queries.

Magento 2 sites will run on average 20% faster than the sites based on the previous version. Pages will load in half the time as it has full-page caching. Whereas with an efficient indexing system, transactions become faster and easier to process.

Thus, faster site speed will encourage more sales and increase website search engine optimization.

2. Mobile Friendly

As we know that online shoppers perform more than 50% of online transactions on mobile devices, a responsive web shop is a must.

Magento 2 makes mobile commerce a priority as Magento 1 sites did not deliver optimum performance on mobile devices. Customers can take their mobile performance even further with the release of PWA (Progressive Web Application) Studio in Magento 2.3.

3. Smooth and Simple Checkout Process

Even though the Magento 1 checkout was a single page process, it was cumbersome.

Now Magento 2 offers a simple 2 step checkout process and the Instant Purchase feature. Existing customers can use their email address to check-out faster using their saved information like using previously-stored payment and shipping information to skip checkout steps altogether, taking them to a confirmation purchase page.

This increases conversions and reduces abandoned cart rates.

4. Better Admin Interface

This is a non-technical user’s dream! The admin user interface has been touted as the most problematic elements of Magento 1 for its confusing layouts and being intimidating to first timers. That problem was solved in Magento 2.

Magento 2 offers a user-friendly and clean experience where even the most non-technical users can add new product listings and find tools with ease. The admin dashboard enables you to find crucial business information about your e-store in one single place, leaving no room for confusing navigation.

The new version is easy to navigate and use which means that your customer will get to pages or products they desire faster.

5. Improved Security

A lot of attention has gone into the security of the online platform in the wake of increased data breaches.

Magento 2 also offers robust desktop protection due to major changes in the source folder structure. Ther number of root folders has been reduced to five by Magento 2 which in the previous version of the platform was containing nine root folders.

Moreover, the mask folder has also been deleted from the root folder. This new structure means that the code cannot be stolen or stolen directly from the root, making Magento 2 more secure than Magento 1.

The Next Big Step Towards Migration

Customers reported they benefited from Magento Commerce 2’s comprehensive security standards, native B2B functionality, multi-site capabilities, and easy-to-use content development functionality.

Their reasoning for choosing Magento was based on how it can be customized to meet their specific needs. You can certainly find your why in the above mentioned reasons to not delay the upgrade any further.

We recommend you to take a systematic migration approach or get a team of Magento experts onboard to help you with the migration with zero down time.

About Galaxy Weblinks

We have a team of Magento experts that will assess your eCommerce website and help you stay up-to-date when it comes to security, performance, and stability. Contact us for a free consultation!

WordPress 5.4 ‘Adderley’ | New features and improvements

The recently released WordPress 5.4 ‘Adderley’ update has got a lot to look forward to! Since this highly popular CMS ditched its classic editor for blocks, the updates that followed were more or less about the editor. This incremental update brings some changes in Gutenberg along with accessibility improvements, site health check mechanisms, and numerous other enhancements.

Before we dive deeper into the update’s details, here is a quick list of reasons for anyone who is deferring any updates for a later date.

Why should you upgrade to 5.4?

While incremental updates might not seem that urgent, here are some compelling reasons that will urge you to think otherwise:

A continuous upgrade helps address security loopholes and ensure that your website is protected against possible security breaches.
Like other updates, WordPress updates are also focussed on continuous performance improvements of your website.
Updates help your website become more user friendly and accessible, thereby creating a better user experience.

Let’s take a closer look at the new features and enhancements in this update.

Changes in the Gutenberg Editor

  • Social Icon buttons

You can now add more than 30+ social platform icons to all your posts and website pages. It includes Reddit, Medium, Facebook, Linkedin, and more. This will eventually help you increase engagement across all your social media platforms.

  • Gutenberg’s got a performance upgrade as well

There is a 14% reduction in the loading time of the editor as compared to 5.3 update.

  • More color options

There is now a gradient background option available for columns, cover, and buttons. This new color customization option goes a long way in making your website’s layout more engaging and visually appealing.

Additionally, you are no longer restricted to a single color of the text in paragraphs. You can add inline text color within your paragraphs.

  • Buttons block

You can now get multiple blocks on a single page. This means multiple CTA in a single block, thus letting your user decide which option to go for. Plus, you can play with button style, text font, and the background colors.

  • Full screen mode

Gutenberg editor now opens in full screen mode by default. You can switch the mode in the top right menu and go in, ‘editor settings’, and uncheck the ‘fullscreen mode’ option.

The community has a mixed reaction towards this addition, especially for beginners. A notable issue is that when the full screen mode is activated, the top bar and admin panels are removed. This makes the navigation a task for the new users.

  • TikTok embed block

This update now has embed blocks for TikTok videos, similar to adding Youtube videos.

  • Featured image

You now have the drag and drop option to add featured images to your blog instead of manually selecting the image. The size and alignments can also be adjusted in the gallery block.

Other notable changes

  • New welcome model

The new welcome model provides a tour of the Gutenberg editor. Tips are no longer present and in its place, there is a slideshow with necessary explanations of blocks and official documentation reference. And the good thing is that this welcome guide can be seen as and when needed via the top right corner menu.

  • Accessibility improvement

On the accessibility front, keyboard navigation in media modal and privacy policy’s readability is improved. You also have the option to change the image title in the image block itself.

  • Health checks enhancements

There is a new widget on your site’s admin dashboard. This displays your website’s overall health and gives you a warning on possible issues. In case you want detailed reports, there is a CTA button that will provide the required information and possible remedy for the issues.

Incremental updates are just as important as version upgrades because the exploits don’t stop unless you do the essential regular maintenance.

About Galaxy Weblinks

We have a team of WordPress experts that will assess your WordPress website and help you be at the top of your game when it comes to security, performance, and stability. Contact us for a free

5 Onboarding Flows to retain your mobile app users

Contemporary mobile apps have different ways of onboarding and retaining their users. Duolingo, a very popular language-learning application offers free sessions before they ask you to sign up. On the other hand, Airbnb’s onboarding flow starts strong with an authentication page, saving users from a simple account creation overkill.

There are multiple onboarding practices that businesses use to engage their users. It is vital to strike a balance in gathering essential information as a lack of context can drive away your users and information overload can lead to a higher bounce rate.

However, the data unveils a bitter truth:

1 out of 4 people abandon mobile apps just after their first use.

Your users must understand the core value of your product faster for an enhanced retention rate.

In this article, we share a list of 5 different onboarding flows, to help you get your users hooked to your app.

1.  Keep your account setup process simple

person holding a phone

If your mobile application necessitates users to sign up to access the app features, the setup process needs to be quick and simple.

This especially holds for Social media or Messaging apps that request device permissions and include an explanation of why the access is required.

Communicating with users builds trust and alleviates security concerns. Avoid scaring away your new users by coming across as too intrusive.

Avoid: Do not ask your users to fill up their information on numerous screens. We recommend authentication via their social accounts, such as Google or Facebook.

2. Highlight the value

Netflix sign up screen

Ask your users the problem they want to address with your mobile application. In this onboarding flow, do not focus on the awesome features of your app. Instead, help them understand why they need to use it.

We recommend communicating the value or specific benefits instead of highlighting features and functionalities.

This has worked out well for apps like Netflix (mobile) and Evernote. Your onboarding process must showcase how the app will meet the user’s expectations.

Impress your users with the various benefits they can reap while using your mobile application. ‘Here is what our product can do’ and ‘Here what you can do with our product’ are completely different approaches and need to be deployed as per your discretion.

Avoid: Don’t overwhelm the users with numerous screens. The key benefits of your app must be displayed in the minimum number of screens during the onboarding process.

3. Showcase the key functionalities

Paypal website screenshot

Introducing your users to the functionalities of your app is another way to onboard them. This onboarding flow is appropriate for apps that have complex features.

This approach fits well for apps like payments, Ecommerce and professional services. Engage your audience, explain the critical features and make them curious about the way these functionalities will help them.

It is essential to communicate the key features upfront to effectively help users understand how your app works. This approach clears up any confusion that the new users may encounter while using your application.

Avoid: Don’t use long texts and jargon. We recommend using illustrations for showcasing the core features in place of long text. This makes it convenient for the users to understand how the app functions.

4. Get users to commit to a mission

Duolingo website screenshot

If you want users to get familiar with your product quickly, encourage users to interact actively with gradual engagement. We suggest that you gather crucial information about users, but in an interactive way. This would usually postpone the signup process.

Gamifying your mobile app onboarding process is an example of this interactive approach. e-learning apps (Duolingo), fitness apps (Fitbit), productivity apps (Habitica) have encouraged their users to interact actively.

The possibility of users to stick with the platform is impacted hugely by having them commit to a mission before signing up.

Avoid: Discourage complicated reward systems. We suggest offering small rewards on completing a module or breaking it down to small units.

5. Create tailored user experiences

Spotify website screenshot

Many apps improve user retention by helping users continuously discover relevant content while helping them select their preferences. If the users can’t discover the content they are interested in, they are almost guaranteed to abandon your app.

Apps like Spotify, Hulu, Pinterest and other entertainment apps leverage user onboarding to create tailored user experiences by inquiring about users’ favorite genres or preferences.

This approach requires you to either ask your users for data or obtain it through a third-party source such as the users’ browser. Alternatively, you can ask the new users for their date of birth and gender as they sign up for a free account during onboarding.

Avoid: An endless content repository is a double-edged sword. The suggested preferences should be categorized in broadly, to avoid overlapping and boredom.

The Next Step

They say it’s all about the first impression! No second chance..

However, many apps including Instagram, Airbnb, LinkedIn, Slack, etc. have adopted onboarding flows as an ongoing process using multiple A/B tests. These companies are successfully onboarding users that align best with their corporate goals and user’s needs.

It’s true that from the user base to the business model, each app is wildly different. One-size-fits-all practices rarely work. The only way to implement the best onboarding flow for your users is by testing various practices.

About the Author:

Animesh is a Sr. Project Manager at Galaxy and an expert in aligning client objectives with our mobile development team to deliver amazing digital products.

About Galaxy

Galaxy Weblinks has extensive experience in building Mobile Applications using iOS, Android and Hybrid Technologies. We provide specialized technology solutions to address complex business problems, across different industries. From idea to design to development and all the way to the app store, Galaxy Weblinks will work as an extension of your team to handle the entire mobile application development lifecycle. Visit Galaxy to know more about our capabilities.

Practices to quickly shift from in-person to remote user testing

The sudden change in lifestyles; professional and otherwise, has made remote work critical for many fields around the world, including UX testing.

Remote user testing has been there in the process since many years making sure that our users are having the best possible experience with our product. Especially mostly by those business organizations who reckon the fact that consumer-centric products sell better.

Although the biggest challenge is not the geographic distance while performing user testing. It’s instead, planning the right strategy, finding the right participants, and communicating with the right tools available. Absence of which can have a negative influence on testing results.

Choose the type of user testing that fits your need

There are two main types of remote usability tests, among which you should select one according to your need and to further validate your designs.

Moderated remote testing

In this type of testing you and the participant both communicate via phone or video conferencing software.
This technique is often used earlier in the design process that allows you to offer support in real-time and ask further questions for deeper clarification from the users as particular issues arise.

Unmoderated user testing

These tests are completed through survey forms mostly alone by the participant, without any phone or video call.
It works well while testing a few specific elements in a time and budget crunch, like a particular widget or a minor change.

Since every business is going user-centric, moderated remote testing has been adopted to interact directly with the target audience and gain a rich understanding of their goals and pain points.

So, if it suits your testing needs to gently nudge a quiet participant to share more about what he’s doing, then here are the best practices of shifting from in-person to easy going and cost efficient remote user testing.

Plan your ultimate testing goal

Define your target user and decide which specific areas of your site or app you plan on testing. In your test prep meeting remotely, discuss the agenda to focus on the goals of testing. It’s important to:

  • Develop straightforward tasks that have well-defined end states.
  • Prepare introductory and/or test materials so the participants will know what is expected of them as well as what they can expect from you.
  • Define the turnaround time of user testing, defining number of participants for each session.
  • Craft good task scenarios that are clear to your participants and have no ambiguity in understanding what you want them to do.

Explore mediums to recruit right testers

Since tests are remote, you are able to recruit people from just about anywhere! It is important to make sure they are representative of your target audience as you are choosing from a pool of participants around the world. There are ways where you can find them:

  • Social media channels such as LinkedIn, Twitter, and Facebook are good options for contacting people who may be interested in testing out your product/prototype.
  • There are a number of recruiting services that exist out there. Some are traditional where live representatives contact users from all over the place and screen them based on your requirements.
  • Others are almost fully automated web-based services where you can basically run a recruitment project on your own just by a few clicks, and potential candidates are automatically added to your project and ready for your approval.

How many participants do I need?

You want to avoid recruiting too few users yielding in insufficient results; nor do you want to recruit too many users and waste time and resources on additional tests.

It’s always better to learn from 6-8 users for each user role, update the design to fix the issues identified, and then test again.

But as a general guideline, if you are on a small budget and interested in DIY usability testing, 5 is a good number to start with. If budget is not a constraint its best to consult experienced professionals to determine the number of users.

Arrange Session and Kick-off Call

Join over a call with your participants using software like Zoom, GoToMeeting, or Lookback. (Stakeholders and other observers can join too). After a brief introduction to explain the setup and establishing rapport, share your screen with the participant, give them control of it, and ask them to complete tasks while thinking aloud.

Observe the participant’s actions, hear their commentary, and see their facial expressions (if webcams are on).

Ask probing questions to explore the participant’s understanding of the interface, just as if you were sitting beside them. Identify and diagnose any usability problems in the design.

Based on those insights, you can provide concrete, actionable recommendations for improving the product’s user experience – all without anyone leaving their homes.

How Costly is Remote User Testing?

Getting a moderator, participants and the product in the same room for about an hour per participant can get really expensive. Expensive enough that this kind of user testing is just not within the reach of many designers.

Moderated remote testing helps with the nasty bills by allowing the moderator to interact with users online through sharing screens instead of face-to-face. Even by choosing a relatively expensive user testing tool, the cost of on-site and remote testing can seldom be compared.

Conclusion

In a global situation like this, when you’re under pressure with deadlines looming – usability might seem trivial enough to skip. Don’t make this mistake: it will cost you more in the long run. Usability testing will, of course, require a degree of investment in time and money, but it pays off.

Remote usability testing has become more and more popular as companies work to cut costs without sacrificing the ability to gain insight into future product success. It is up to us UX designers to know the in’s and out’s of this methodology in order to utilize it most effectively.

Maintenance chores to keep your WordPress site in good health

Today, websites are more than just a ‘set-it-and-forget-it’ proposition. They are marketing machines that help you get new customers and leads. You might be planning to or already own one.

Regardless of what size and functions they inherit, this is true for all sites…for WordPress ones too. And complexity being the most ingrained quirk of websites nowadays, maintaining the website on a regular basis becomes a necessity.

As this will help you avoid being reactive, eschewing the risk of ending up with a chaotic, insecure and slow website that is hard to use for both admins and visitors.

The Blame Game

In a typical manufacturing facility, there are two primary groups: production (or operations) and maintenance. Likewise, a website entails two major phases – the development and maintenance (after going live).

If you have poorly trained operators then this will lead to reactive maintenance and destroy maintenance’s ability to efficiently maintain the factory. The opposite is also true.

Tension and blame games become a common scenario due to conflicts.

In the same way, installing the wrong versions of themes and plugins in the development phase can lead to a site break after going live.

Conversely, if you are not analyzing or worrying about achieving loading times under 1 second after getting the website live, you will probably never get a Mayday! signal from your code.

Both the phases are so intertwined and symbiotic in nature that they cannot be at opposite ends of the performance spectrum.

There are certain maintenance exercises that are needed to be assured in both the phases. The list of WP maintenance is endless.

But, we have sifted down some major practices to maintain good website health…

During Website Development

Set up your WP website with latest versions

It’s crucial that you always use the latest version of WordPress, themes and plugins.

Ensure that your plugin and theme developers coordinate their updates with major WP releases. Because with each new release, they enhance existing features, improve performance, add new features, and fix bugs to stay up to date with new industry standards.

So that you won’t miss out on new improvements/features, and risking your website to break.

Install plugins to plug website’s security holes

The security of your site is only as good as the backend and foundation it’s running on. Security plugins can save you from..

  • Hackers stealing your data belonging to your users
  • A compromised website that can malicious code to unsuspecting users

Sucuri, Wordfence and iThemes Security are some of the popular security plugins.

Use a Content Delivery Network (CDN)

There are chances that large images, CSS and JS files might have not been optimized taking a lot of time to arrive from the web server to the visitor. Whereas, your hosting server is hosting many websites together and response times are slow due to resource + bottlenecks.

A CDN is a network made up of servers all around the world that can help to speed up loading times for all of your visitors. And you can take a lot of load away from your server, because the heaviest resources are now hosted by the CDN.

Work on your code

There may be times you have to access the source code of your website. There are 3 main areas where you need to maintain a clean coding environment.

Commenting:

It cuts down time on edits and bug fixes which otherwise will be spent by the new developers or even by the same developer on figuring out what a particular code block does.

Linting:

It is another cool feature which enforces rules on the way we write code, and sometimes it corrects the code formatting itself.

Debugging:

Some popular examples of WP debugging plugins include Debug Bar, Kint Debugger and Query monitor.

Maintaining a live website

Back it Up!

The Rule-Of-Thumb dictates you must create a back-up of the data of your website. Sometimes it is also advisable to create more than one back-up and store it in different places to avoid any contingency.

Make sure to run backup plugins only during low traffic time on your website. You also need to adjust the frequency of backups and data that needs to be backed up.

Monitor website server uptime

There can be many occasions when your website is down and you’ll not even be aware of it. And this affects your business severely, website reputation, and user experience.

Use Jetpack, Down Notifier, and Pingdom plugins to monitor your website every specific minute via stats available on the dashboard. These plugins notify when your website goes down or is inaccessible.

SEO

The whole point to starting a business is to have clients. You get ranked on Google with most up-to-date and relevant information. They may even de-index your website entirely if it hasn’t been updated recently enough and if they suspect it has been infected by malware.

You must keep your website regularly updated via current content, news, keywords, permalinks, and rich snippets to rank well in search results.

The big dog in this picture – No..Not Speed!

Your website is a very important element of your business. It can cost you dearly, if it’s not in a good state or it can be a valuable asset if it is up-to-date and running smoothly. Once you are behind on your maintenance needs, it can be quite the process to bring the website back up to speed.

Do your business and yourself a favor by staying on top of your website. This will repay you with simple ease of mind. Devote your time what you’re best at: creating content and managing business.

Afterall you don’t want to wake up to alarm bells showing that something has gone south with your WordPress website.

Taking burden off you

It’s true that much of the work of maintaining your site can be automated.

But you still have to set it all up. You have to take the time to check any issues and you may have to fix them too. That will require you to learn about website security, error logs, or 404 pages.

Which is why it can be helpful to hire WordPress maintenance professionals. As a good WordPress maintenance expert not only fixes problems but also finds ways to keep them from happening again.

Understanding cost breakdown of an app via IKEA

A smartphone without apps and a home without furniture are of no use for the people living in it. Although living in a smartphone is metaphorical but it’s true.

A lot of things can go wrong when you’re trying to put together an app or IKEA furniture. Both these tasks have a buffet of customizations, making it even more difficult to stick to one’s decisions. And not to forget, more customization is synonymous with an increase in the overall estimated cost. 

To ensure that your estimated and actual costs are not miles apart, we have curated a list of major factors that affect the overall cost of building an app. With an IKEA twist. 

DIY or Outsource

Tools for furniture making

Besides modularity, digital applications and IKEA furniture have other things in common. And before you disagree with this, allow us to elaborate.

As a first time entrepreneur, you are all geared up to start building your own app, equipped with all the know-hows, and a good amount of experience, similar to a person who is all set to assemble their own Liatorp Entertainment System or PAX wardrobe.

But as both the DIYs project proceed, a realization dawns on the creators after the initial user research is carried out. Your app is not optimized for device performance and UI is poorly designed. The same way the sliding doors are not at all sliding, there seems to be shortage of screws despite having counted them before starting off. 

These results surface only after you are neck deep into both these projects and you start thinking if you should have hired the specialists altogether. 

Lucky for us, there are freelancers and app development agencies who are happy to complete your projects and get them up and running in minimum possible duration. Thus, take this decision before it’s too late and save your time and efforts.                                                                                                                       

Design Requirements 

Design inspiration on whiteboard

Your UI/UX design is what will differentiate your app online. Your design should minimize the cognitive load of your users. If you are looking for customizations like parallax scrolling, custom cursors, micro interactions and other animations, be prepared to shell out more money. Just as you would do for your PAX wardrobes. 

All these requirements will increase your design and development time, taking anywhere from 500 to 1500 hours, thereby increasing your cost accordingly. 

Yes, IKEA furniture can be hard to assemble at times, but once completed, it does make the daily life of the users easy.

Your app design should be on similar lines. It should become a part of your user’s daily life without their realization. And this can be achieved with an intuitive and easy to use app design. 

Type of Applications

Applications on a smartphone

This will be determined by your target audience and the quality of user experience you’re aiming to achieve, keeping in mind the available budget.  

Web app

A web app is the least expensive app version. It is an optimized version of your mobile website but with limited functionalities and minimum amount of complexities. The cost of developing a simple web app can range from $3,000 to $15,000.

Native app

Native apps are built in the languages specific to the platform(s) they are developed for. You can make a feature rich app and add loads of functionalities to it. They can be downloaded from the Apple app store or Google play store only. Since they have to be developed for the platforms individually, the cost of development is on the higher end. These apps can cost anywhere from $20,000 to $100,000 for each platform. 

Hybrid app

These apps are platform independent and are developed using a single language. It helps in catering to a larger audience from the start. The development and maintenance costs are also less in comparison to native apps. It ranges from $10,000 to $30,000. But it fails to beat native apps in the user experience it provides. 

Features and Functionalities of Your App

Utility and design of double bunk bed furniture

The estimated cost and time required in building your app depends heavily on the functional complexity and features. 

Think of Stuva loft bed. It comes with a table, wardrobe, open shelf and of course, a bed. Does your kid really need all this?

Relate this with your app. There are tons of features to choose from for your app. Like, user login, search option, social media integration, chat bot support, geolocation, Google map integration, multi language support, push notifications, payment integration and a lot of others. In the initial phase, you will not require all the functionalities. 

It is always good to see how well your app does after the initial releases by focusing on the core features of your app. This will also reduce your time to market. You can do the refining process in the next app releases. 

Selected Platforms for Your App 

Different models of smartphones

Selecting a platform for your app depends on who and where your target audience is. Android users exceed iOS users by a good number. But this does not mean that you take the android only approach.

Developing an iOS app is more complicated as it requires more expertise and needs to align with the strict App store guidelines. But an android app’s compatibility and functionality have to be tested across a wide range of devices and versions. And you can’t possibly test for all of the available devices.

If your budget allows development for both platforms, it is the best approach to go by. Ensure that you know who is your target audience. For example, if your target base is largely in Asia and Africa, then you must focus on developing an android app first. But if you are aiming for the US and Western Europe, iOS should be your priority for these regions.

When developing an app for any single platform, the cost variation is negligible. A simple app costs around $15,000 but the cost increases with more complexities. But in case you are thinking of developing for both the platforms, the cost will be doubled. 

Required Level of Expertise and Specialization

Expert guide

Assembling a PAX wardrobe complete with drawers, sliding doors, pullout trays, is a task even for the expert furniture assemblers. 

When developing an app, you will need a project manager, UI/UX designer, developer, and QA tester for starting off your project. Even when you are able to fulfill some roles, you will be required to hire experts for other fields to get the best results. 

Sure the cost of experts will be more, but your app will have a good headstart with such a team. And these requirements will keep on changing with your user base and your team will keep growing with your business. 

Location of Your Developer

Wooden map of the world with pins

Whether you’re outsourcing partially or completely, geography plays a significant role in deciding your app development costs. With density, competition also gets stiffer. For this very reason, development costs in Asian countries are much less in comparison to North American and European countries. The costs vary from $20 per hour in Asia to as high as $200 per hour in Europe.

There is no rule of thumb that says that lower hourly rates will lead to poor product delivery or higher rates will give the best products. You can save huge costs by researching and outsourcing to the right remote teams.

Hidden Costs 

An iceberg floating in open water

While you were busy buying your BESTA wall mounted unit, reading up on assembling guides and organizing the flat pack furniture on its arrival, you forgot to buy a drilling machine and the extra care essentials for maintaining that high gloss finish. 

Conceptualizing, developing and deploying your app is not when you get to take a goodnight’s sleep. Instead after the release of your app, you will have to keep some money aside for app maintenance and support. This would include fixing bugs, giving additional support for new OS versions and third party integrations, implementing new features, storing your user data and even monitoring your user activity are all a part and parcel of your app after it’s release. 

Thus, be it DIYing your own furniture or app development, these projects are no cake walk (but don’t forget to cut a celebratory cake after completion of the projects). Having an accurate estimation of time and cost is a good starting point for any app development venture.

Efficiently tackling complexities with Docker and Kubernetes

It all started with taking on the monolith code by microservices, and shaping the final product into a lego-like software.

Services like shopping carts or the payment option began to be written as separate pieces of software. Technologies like orchestration (K8s) and containerization (Docker) are helping companies in outstripping profitable parameters from making easy-to-deploy applications to handling the huge rush on a big sale day.

K8s and similar technologies like Docker Swarm, are technically known as container orchestration platforms designed to support large and distributed systems, and the sales pitch is:

Run billions of containers a week, Kubernetes can scale without increasing your operation team. Well, even if you have 10-100 containers, just imagining we are not all Google size…still it’s for you.

If you are at the beginning of the journey or just considering adopting K8s and Docker containers for your cloud infrastructure, this post will hopefully help you evaluate some of the major advantages offered by these technologies.

Squeezing every ounce by avoiding vendor lock-in

Migrating to the cloud can bring a lot of benefits to your company, such as increased cost savings, flexibility, and agility. But if something goes wrong with your CSP (Cloud Service Provider) after your migration, moving to another cloud vendor can incur substantial costs. No portability support and the steep learning curve are a couple of the reasons why it becomes harder to switch vendors.

Kubernetes and Docker containers make it much easier to run any app on any public cloud service or any combination of public and private clouds.

Container technology helps isolate software from its environment and abstract dependencies away from the cloud provider. And it should be easy to transfer your application to a new cloud vendor if necessary, since most CSPs support standard container formats. Thus easing the transition from one CSP to another making the whole process more cost-effective.

Rolling back the deployment cycles

There is an increasing demand to decrease the delivery time and be able to ship more number of features at a time. Manual testing and complex deployment processes can cause post release issues which worked in testing, but failed in production, resulting in delays in getting your code to production.

K8s and Docker containers help you shrink the release cycles through declarative templates and rolling updates.

It is the default strategy to update the running version of your app. You can deploy such updates as many times as you want and your user won’t be able to notice the difference. Moreover, with its production readiness, you can ensure zero-downtime deployment when you wish not to interrupt your live traffic.

Adapting the infrastructure to new load conditions

When the workload to perform a particular business function suddenly increases, the entirety of a monolithic application has to be scaled to balance the workload. This results in consumption of computing resources. And in the world of cloud, redundant usage of resources costs money.

Especially, in the case when you have a 24/7 production service with a load that is variable in time, where it is very busy during the day in the US, and relatively low at night.

Docker containers and Kubernetes allow scaling up and down the physical infrastructure in minutes through auto-scaling tools.

Scaling is typically done in two ways with Kubernetes:

Horizontal scaling:

When you add more instances to the environment with the same hardware specs. For example, a web application can have two instances at normal times and four at busy ones.

Vertical scaling:

When you increase your resources. For example, faster disks, more memory, more CPU cores, etc.

Kubernetes and Docker container technologies are now seen as the de facto ecosystem. It can lead to great productivity gains if properly implemented into your engineering workflows, and adopted at the right time.

You can make the move especially when…

  • Your team is facing trouble managing your platform because it is spread across different cloud services.
  • Your company has already moved its platform to the cloud and has experience with containerisation, but is now beginning to have difficulties with scale or stability.
  • You have a team that already has significant experience working with containers and cloud services.

But what about tons of configurations and setup that is required to maintain and deploy an application, you will ask.

Well to be honest, the amount of benefits it offers deserves a little bit of complexity.